Lith Printing III: Materials, Workflow, and the Contemporary Printer
Part 3 of 3 in the Lith Printing series | ← Previous: Part 2
The classic lith papers are gone. Sterling Lith, Forte Polywarmtone, Kodak Ektalure, the old Agfa Brovira—papers that defined the technique for decades—have all been discontinued. What remains is a short list of currently manufactured papers that still work, chemistry from a handful of dedicated suppliers, and a community of practitioners who share knowledge about batch variations, workarounds, and alternative approaches.
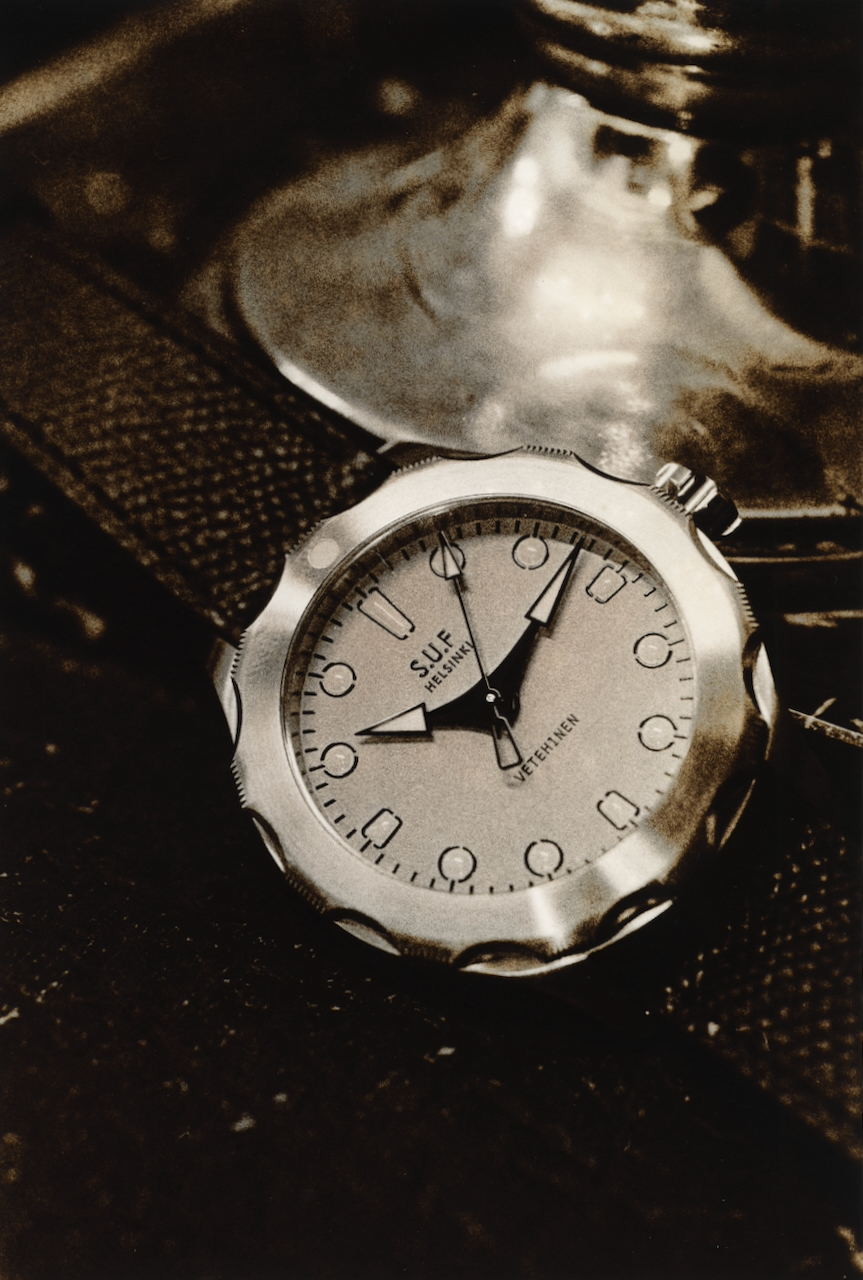
This final post in my lith printing series documents what actually works now: the papers I use, the chemistry I trust, my practical workflow from test strip to finished print, and the community—particularly the Nordic analog network—that keeps this knowledge alive and developing.
Papers That Still Lith
Lith printing requires specific emulsion characteristics. The silver must be chlorobromide or bromide (not pure chloride). The paper must not contain incorporated developing agents like phenidone that suppress infectious development. Many modern papers fail one or both requirements. The list of genuinely lithable papers has shrunk dramatically.
FomaTone 132: My Primary Paper
FomaTone 132, manufactured by Foma Bohemia in the Czech Republic, is the paper I use most. It's a warm-tone, double-weight fibre-based paper with excellent lith characteristics: strong colour development, good tonal range, and relative tolerance for technique variation.
The colour palette runs from reddish-yellow highlights to greenish-black shadows—warmly coloured even with relatively short development times. FomaTone rewards overexposure with creamy, detailed highlights. It handles both high-contrast and low-contrast approaches well.
A significant caveat: Foma's emulsion has changed over the years, and certain production batches have been problematic. Papers manufactured between approximately late 2022 and 2023 (various batch numbers in that period) were reported as unlithable or severely compromised—the emulsion changes apparently interfered with infectious development. The community tracked this through forums and social media, comparing batch numbers and results.
The good news: Foma responded to community feedback and adjusted their emulsion. Current batches (reported as 0796 and later) are working properly again according to community testing. However, old stock from problematic batches may still be sitting on retailer shelves. Before purchasing, ask about batch numbers or check box markings. The lith community on Photrio and Facebook maintains ongoing documentation of which batches work—this information is practitioner-reported rather than manufacturer-confirmed, but it's been reliable in my experience.
Even with good batches, FomaTone 132 can be prone to snowballing in lith developer. I routinely pre-soak prints in three percent hydrogen peroxide for thirty to sixty seconds to soften the emulsion. This nearly eliminates the problem. Moersch's EasyLith FT Special variant, formulated specifically for FomaTone, also helps.
FomaBrom 152: The Gritty Alternative
FomaBrom 152, also from Foma, is a cold-tone graded paper (available in several contrast grades; I use grade 3 and grade 4 most). The high bromide silver content produces dramatically different results from FomaTone: grittier texture, more aggressive peppercorn grain, and a fundamentally cold tonal character that can shift towards yellow-red but never achieves FomaTone's warmth.
Where FomaTone is creamy, FomaBrom is gritty. Where FomaTone is warm, FomaBrom is hard. The paper lends itself to urban subjects, industrial scenes, and deliberately harsh aesthetics. Portraits become graphic and edgy rather than soft and flattering.
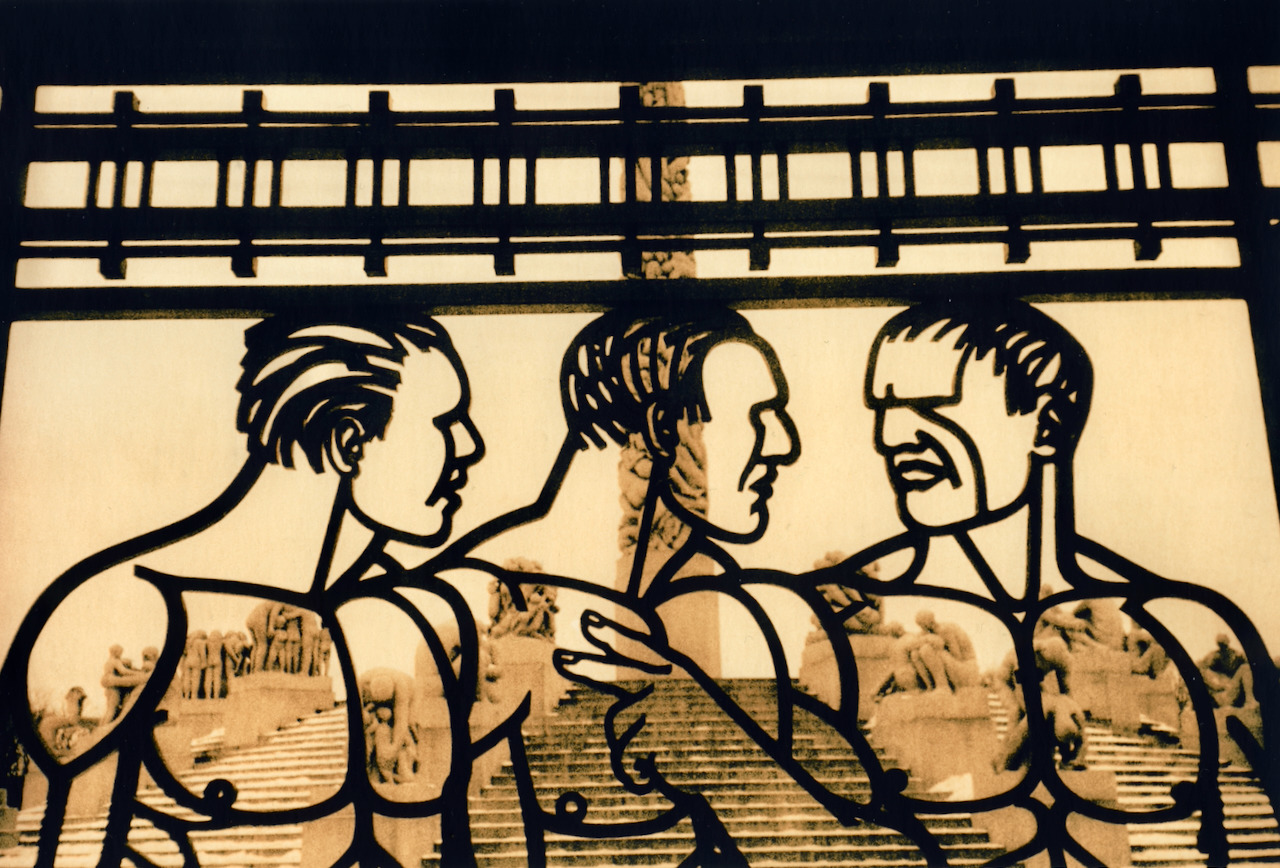
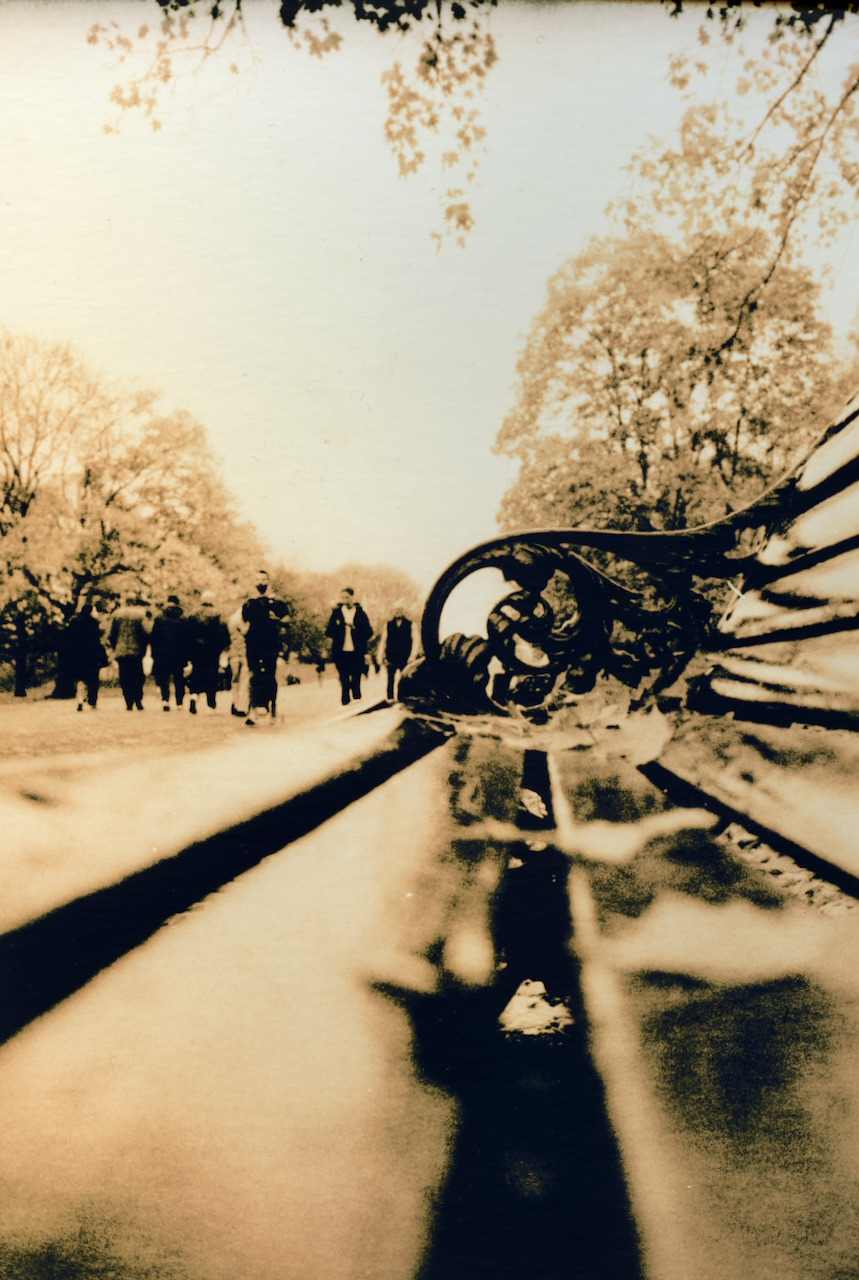
Those two prints are the range the process covers, and neither took anything exotic to get — just a different decision about exposure and when to pull.
FomaBrom shares FomaTone's susceptibility to batch variation and snowballing. The same mitigation strategies apply: check batch numbers, pre-soak, consider EasyLith FT Special.
Other Options, With A Caveat
I have only lith printed on the two papers above. Everything in this section is compiled from other printers, forums and Rudman's materials guides, and I am flagging that rather than presenting it as advice, because two things change underneath a list like this and neither announces itself.
The first is availability, which is regional and volatile. Oriental Seagull and Slavich have had no reliable route into parts of Europe for years; what is stocked in Helsinki, London and New York are three different lists. The second, and more insidious, is reformulation. A paper can keep its name and stop lithing. Foma's own gelatine change is the well-documented case, and it is the reason any list of “papers that lith” carries an invisible expiry date — including this one.
So: names to investigate, not recommendations.
- Oriental New Seagull — long-standing reputation as a lith paper, creamy beige tones. Availability outside Japan is patchy and has been for some time. Note that Oriental Warmtone has been FomaTone emulsion under licence, so check what you are actually buying.
- Slavich Unibrom — Russian, cold-tone, gritty; distribution has been badly disrupted and I would not count on sourcing it.
- Adox — reports are mixed and batch-dependent, and the picture is complicated by Adox's ongoing work recreating Forte Polywarmtone, which is a different proposition from the older MCC stock the forum threads discuss. Worth watching rather than ordering blind.
- Ilford Multigrade Warmtone — often described as semi-lith with a hot developer and reduced exposure. I have not tested whether the current emulsion still does this, and I would treat any specific technique you find for it as possibly describing an older formulation.
- Bergger Portrait Matt — reported to lith well and fast, with a matte surface. Expensive, and I have no first-hand experience of it.
If you are about to spend money on any of these, ask somebody who has printed on that specific box in the last year. That is genuinely the only reliable method, and it is why the community in the next section matters more than any list I can write.
Discontinued Papers Worth Finding
If you encounter old paper stock—at estate sales, darkroom closures, or forgotten storage—discontinued materials often produce exceptional lith results. Papers to look for include Kodak Ektalure, Forte Polywarmtone, Sterling Lith VC, Agfa Brovira, and old Ilford Multigrade IV. These papers may have fogged or deteriorated, but often still work. The worst outcome is wasted paper; the best is prints impossible to achieve with current materials.
Chemistry: EasyLith and Alternatives
Moersch EasyLith: My Standard Developer
Moersch EasyLith, manufactured by Wolfgang Moersch's Moersch Photochemie in Germany, is the developer I use for virtually all my lith printing. It's a two-part formaldehyde-free concentrate that produces consistent results across different papers with minimal fuss.
Part A contains hydroquinone (the developing agent). Part B contains alkali activator and restrainers. The two parts are mixed in equal quantities, then diluted heavily with water.
Standard dilution: 1+15 to 1+30. For instance, 15ml Part A plus 15ml Part B plus 900ml water produces one litre at 1:30 dilution. Adjust dilution based on paper, desired development time, and how much exposure you've given.
Development times typically run six to twelve minutes at room temperature (twenty to twenty-two degrees). Faster times indicate stronger concentration needed; longer times indicate higher dilution possible. Aim for times in the six-to-twelve-minute range for optimal colour development.
The 500ml kit (250ml each of A and B) makes 7.5 to 15 litres of working solution depending on dilution—substantial yield for the price. Working solution keeps for hours during a session but exhausts with use. Don't try to save working solution overnight; mix fresh each session, inoculated with Old Brown from previous sessions.
EasyLith FT Special: A variant developed specifically to address issues with FomaTone papers, containing additional development retarders that help prevent snowballing and provide more consistent results with this particular emulsion. Consider this if standard EasyLith produces consistent snowball problems with your FomaTone batches, or if you want a more predictable starting point with Foma papers.
Moersch SE5 Master: Advanced Control
The SE5 Master kit provides everything EasyLith offers plus dedicated additives for fine-tuning:
Lith C (sodium sulfite): Suppresses grain and peppering. Add when you want smoother tones from papers that tend towards texture.
Lith D (potassium bromide): Slows development and increases colour. Add when colour matters more than speed.
Lith E: Increases grain at the expense of colour. Add when you deliberately want gritty texture.
At equivalent dilutions without additives, practitioners report minimal difference between SE5 Master and EasyLith. Choose SE5 if you want the additive options; choose EasyLith for simplicity.
Alternative Developers
Fotospeed LD20: A traditional formaldehyde-containing lith developer still in production. Works well but requires ventilation, especially when heated. Less expensive than Moersch products; available through UK and European suppliers.
Rollei Lith Developer: Another traditional formulation. Compatible with most lith papers. Similar considerations regarding formaldehyde.
Home-mixed formulas: Various recipes exist for mixing lith developer from raw chemicals. The classic approach involves hydroquinone, sodium sulfite, potassium bromide, and formaldehyde in specific proportions. Requires chemical knowledge and safety precautions. Not recommended for beginners when commercial options exist.
My Working Process
Here's how I approach a lith printing session, from preparation through finishing.
Session Preparation
I work in a well ventilated darkroom with a heating pad to warm up the chemistry. Before starting:
Chemistry preparation: Mix fresh working solution. For a typical session, I prepare Part A: Part B: Water approximately 1:1:19 dilution. The water is mixed with Old Brown from previous sessions. Warm to working temperature if desired (I usually work at 35 degrees).
Paper inventory check: Verify I have enough paper for the session.
Old Brown status: Ensure I have adequate Old Brown saved. If starting fresh without existing stock, accept that first prints may be less colourful—they're seasoning the developer for later prints.
Pre-soak preparation: For FomaTone, prepare a tray of three percent hydrogen peroxide solution for pre-soaking, which seems to handle snowballs well.
Exposure Determination
I approach lith exposure differently from conventional printing. Often I don't bother with a test strip — I know both my paper and negatives enough to be able to guess a reasonable starting point, but in general:
Make a standard test strip in normal developer first. This establishes baseline exposure for proper midtones.
Select the strip showing correct midtone density under normal development.
Add two stops (quadruple the time) for the lith starting point. If my normal exposure would be ten seconds at f/8, I start lith at forty seconds at f/8.
Adjust based on negative contrast: Flat negatives may need less overexposure (higher lith contrast). Contrasty negatives may need more overexposure (lower lith contrast).
This baseline approach gets me in the correct range for first prints. Fine-tuning follows from evaluating results.
Development Sequence
Pre-soak (FomaTone): Immerse paper in hydrogen peroxide solution for thirty to sixty seconds. This step seems to prevent snowballing. Drain briefly before transferring to developer.
Developer immersion: Slide paper into developer face-down. After ten to fifteen seconds, turn face-up. Keep paper moving gently throughout development—continuous agitation isn't necessary, but periodic movement ensures even development.
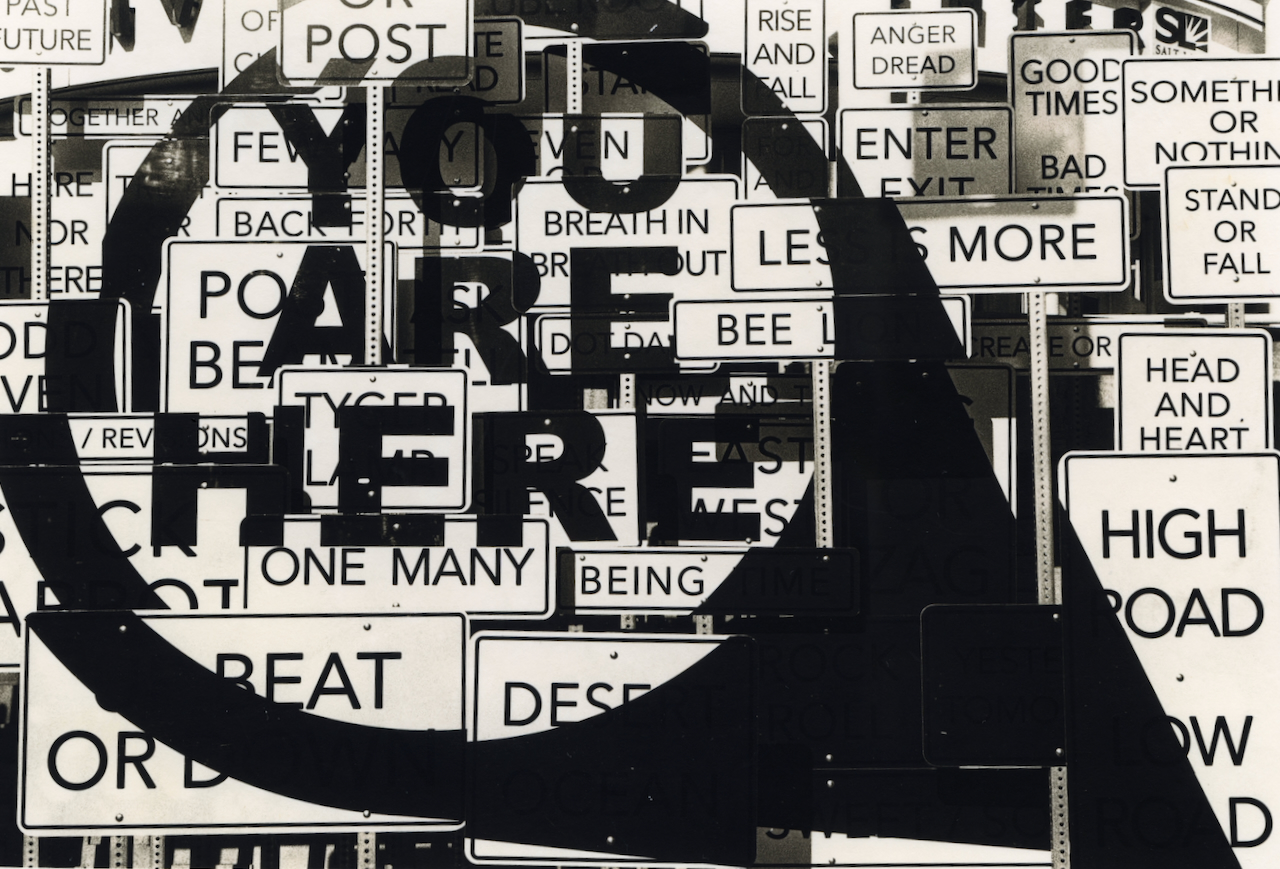
Monitor with safelight torch: I use a red safelight torch to inspect shadow development, holding it at an angle to reveal emerging density. The key is watching your most important shadow area—where you need detail, not just maximum black.
Induction period: Expect two to five minutes of essentially no visible image. This is normal. Don't panic; don't strengthen developer.
Slow development: Highlights appear first, faint and ghostly. Midtones follow. The image becomes recognisable but looks light and underdeveloped.
Acceleration phase: Shadows begin darkening noticeably. The pace quickens visibly. Infectious development is engaging.
Snatch point: When your key shadow area reaches proper density, remove the print immediately and transfer to stop bath. Don't drain over the developer tray—you'll continue developing in air. Move directly and quickly. Note that also, Lith prints in my experience typically dry darker 1/2 to 1 stop.
Stop bath: Acid stop bath provides cleaner snatch than water stop. The acid immediately halts development, which matters during the exponential phase where seconds count. I use standard stop bath at working strength, agitating for thirty seconds.
Fixing: Standard two-bath fixing for archival work; single bath acceptable for proofing. Fix for manufacturer's recommended time. The print may lighten slightly in fixer—this is normal. Avoid over-fixing, which can damage delicate highlights.
Washing: Thorough washing is essential for fibre-based papers. I use a washing aid (hypo clear) between fixing and final wash, then wash for forty-five to sixty minutes in running water or equivalent with water changes.
Evaluating and Iterating
After the first print:
Assess highlight density: Are highlights properly developed with good detail? If too light, increase exposure. If too dark, decrease exposure.
Assess shadow density: Did shadows reach proper density before snatching? If shadows are weak, extend development time (snatch later). If shadows blocked up, snatch earlier.
Assess overall contrast: Is the tonal separation appropriate for the image? If contrast is too high, increase exposure. If contrast is too low, decrease exposure.
Assess colour: Are tones warm enough? If too cold, increase dilution, add Old Brown, or decrease temperature. If you want cooler tones, reverse these adjustments.
Assess grain and texture: Is peppering appropriate for the image? If too grainy, use fresher developer, lower temperature, or add Lith C (if using SE5 Master). If you want more texture, use more exhausted developer, higher temperature, or FomaBrom instead of FomaTone.
Iterate. Lith printing typically requires several attempts to optimise a given negative. I consider three to five prints normal for arriving at a good version; two prints is fortunate; ten prints indicates I should reconsider my approach.
Post-Processing and Archiving
Drying: Most people lay prints face-up to dry; personally I hang them vertically, and press later.
Assessment shift: Lith prints may shift colour slightly as they dry. Evaluate final colour on dry prints; wet assessment can be misleading.
Toning (optional): Selenium toning provides archival protection and can enhance colour. Dilute selenium toner heavily (1:15 to 1:20) for lith prints—they respond more dramatically than conventional prints. Brief immersion (thirty to sixty seconds) deepens blacks and may remove undesirable colour cast. Extended immersion produces more significant colour shifts.
Storage: Lith prints are silver-based and respond to environmental conditions like any silver gelatin print. Proper storage ensures longevity.
Managing Old Brown
Old Brown—saved, oxidised developer—is not waste. It's a valuable resource that improves subsequent sessions.
After each printing session, pour remaining working solution into a dedicated bottle. Label with date. The solution will darken over time (hence “Old Brown”) as oxidation products accumulate.
At the next session, add 10-100ml of Old Brown per litre of fresh working solution. This “inoculates” the fresh chemistry with bromide and oxidation products that enhance lith characteristics. Prints from inoculated developer show better colour from the first sheet rather than requiring several sacrificial prints to season the chemistry.
Old Brown keeps for months or years. Some practitioners maintain stocks indefinitely, adding to them and drawing from them across many sessions. The accumulated chemistry develops increasingly complex character over time.
If you have no Old Brown (first session, or starting fresh), accept that initial prints will be less colourful and more conventional in appearance. Use them as exposure tests and chemistry calibration. By the third or fourth print, the developer will be adequately seasoned.
Community and Continuity
Two figures define contemporary lith printing. Tim Rudman’s 1998 The Master Photographer's Lith Printing Course was the first comprehensive treatment—it set the conceptual framework, including the Golden Rules and the grain-size/colour relationship the community still uses. And Wolfgang Moersch, the German master printer behind Moersch Photochemie, makes what many consider the best chemistry available, including the formaldehyde-free EasyLith and SE5 Master. Beyond them the knowledge lives in scattered places—the Photrio Alternative Processes forum, the Facebook Lith Printing Group, #lithprinting on Instagram, and workshops through the likes of the Penumbra Foundation and the Nordic darkroom network (see references below).
What Lith Printing Offers
After several years of working with lith—from that first confusing, accelerating print at Mörk through hundreds of subsequent attempts—I return to it for specific qualities no other process provides.
The colour, first. Warm cream highlights against cool black shadows, achieved without toning, emerging from the differential chemistry of grain formation. The colours feel organic, inherent to the materials rather than applied to them.
The texture. That characteristic pepper grain, the visible evidence of infectious development spreading through the emulsion. The prints have physical presence—not just tonality but surface, not just image but object.
The latitude. A single paper, a single developer, producing results spanning from soft pictorialism to harsh graphic abstraction depending entirely on how you balance the variables. The control isn't precise—you're collaborating with chemistry that wants to accelerate—but it's real. Different results for different images, different moods, different intentions.
The connection to a specific community of practice. Lith printing isn't solitary work in isolation; it's participation in ongoing conversation about materials, technique, and possibility. The knowledge passes through workshops, forums, articles, conversations. Åsmund taught me what others taught him; what I learn gets shared in turn.
The challenge, honestly. Lith printing resists automation and standardisation. Each session involves reading the chemistry, watching the acceleration, making judgment calls about when to snatch. The process demands attention in a way conventional printing doesn't. That demand feels appropriate for work that matters.
The materials are limited and shrinking. The chemistry requires understanding. The technique takes practice to control. None of this is convenient. But what emerges from the inconvenience—those warm-cold prints with their gritty shadows and creamy highlights—justifies the effort. Some images need this process. Some images can only be this process.
References
Books
Rudman, Tim. The Master Photographer's Lith Printing Course. Argentum, 1998.
Rudman, Tim. The Photographer's Toning Book: The Definitive Guide. Amphoto, 2002.
Technical Documentation
Moersch, Wolfgang. “Lithprinting Guide (Lessons 1-6).” Moersch Photochemie, revised January 2023. https://www.moersch-photochemie.de/wp-content/uploads/2023/03/Lith-Anleitung-Lessons-1-6-ENGLISH.pdf
Moersch Photochemie. “EasyLith Technical Data Sheet.” https://www.moersch-photochemie.de/
Fotospeed. “LD20 Lith Developer Instructions.” https://www.digitaltruth.com/products/fotospeed_tech/Fotospeed_LD20_Lith_Instr.pdf
Online Resources
AlternativePhotography.com. “The Lithprint Process.” https://www.alternativephotography.com/the-lithprint-process/
EMULSIVE. “A Practical Guide to Lith Printing.” https://emulsive.org/articles/darkroom/darkroom-printing/a-practical-guide-to-lith-printing
Film Photography Project. “What Is a Lith Print?” https://filmphotographyproject.com/what-lith-print/
Unblinking Eye. “Lith Printing.” https://unblinkingeye.com/Articles/Lith/lith.html
Community and Network Resources
Nordic Analogue Network. https://www.nordicanalog.network/
Mörk (Finnish Darkroom Association). https://www.mork.fi/
Finnish Darkroom Association (Suomen Pimiöyhdistys). https://pimioyhdistys.fi/en/
Åsmund Lahaug. https://www.instagram.com/asmundlahaug/
Photrio.com Alternative Processes Forum. https://www.photrio.com/forum/forums/alternative-processes.67/
Large Format Photography Forum. “Current Lith Paper Availability.” https://www.largeformatphotography.info/forum/archive/index.php/t-133851.html
Paper and Chemistry Suppliers
Foma Bohemia. https://www.foma.cz/en/
Moersch Photochemie. https://www.moersch-photochemie.de/
Fotoimpex. https://www.fotoimpex.de/ [European supplier for Moersch chemistry and various papers.]
Freestyle Photographic Supplies. https://www.freestylephoto.biz/ [US supplier for lith chemistry and papers.]